
Easiest 5min DIY Chicken Feeder and Water Dispenser Using 5-Gallon Buckets
5min DIY Chicken Feeder and Water Dispenser Using 5-Gallon Buckets: Easy, Affordable, and Cluckin’ Awesome
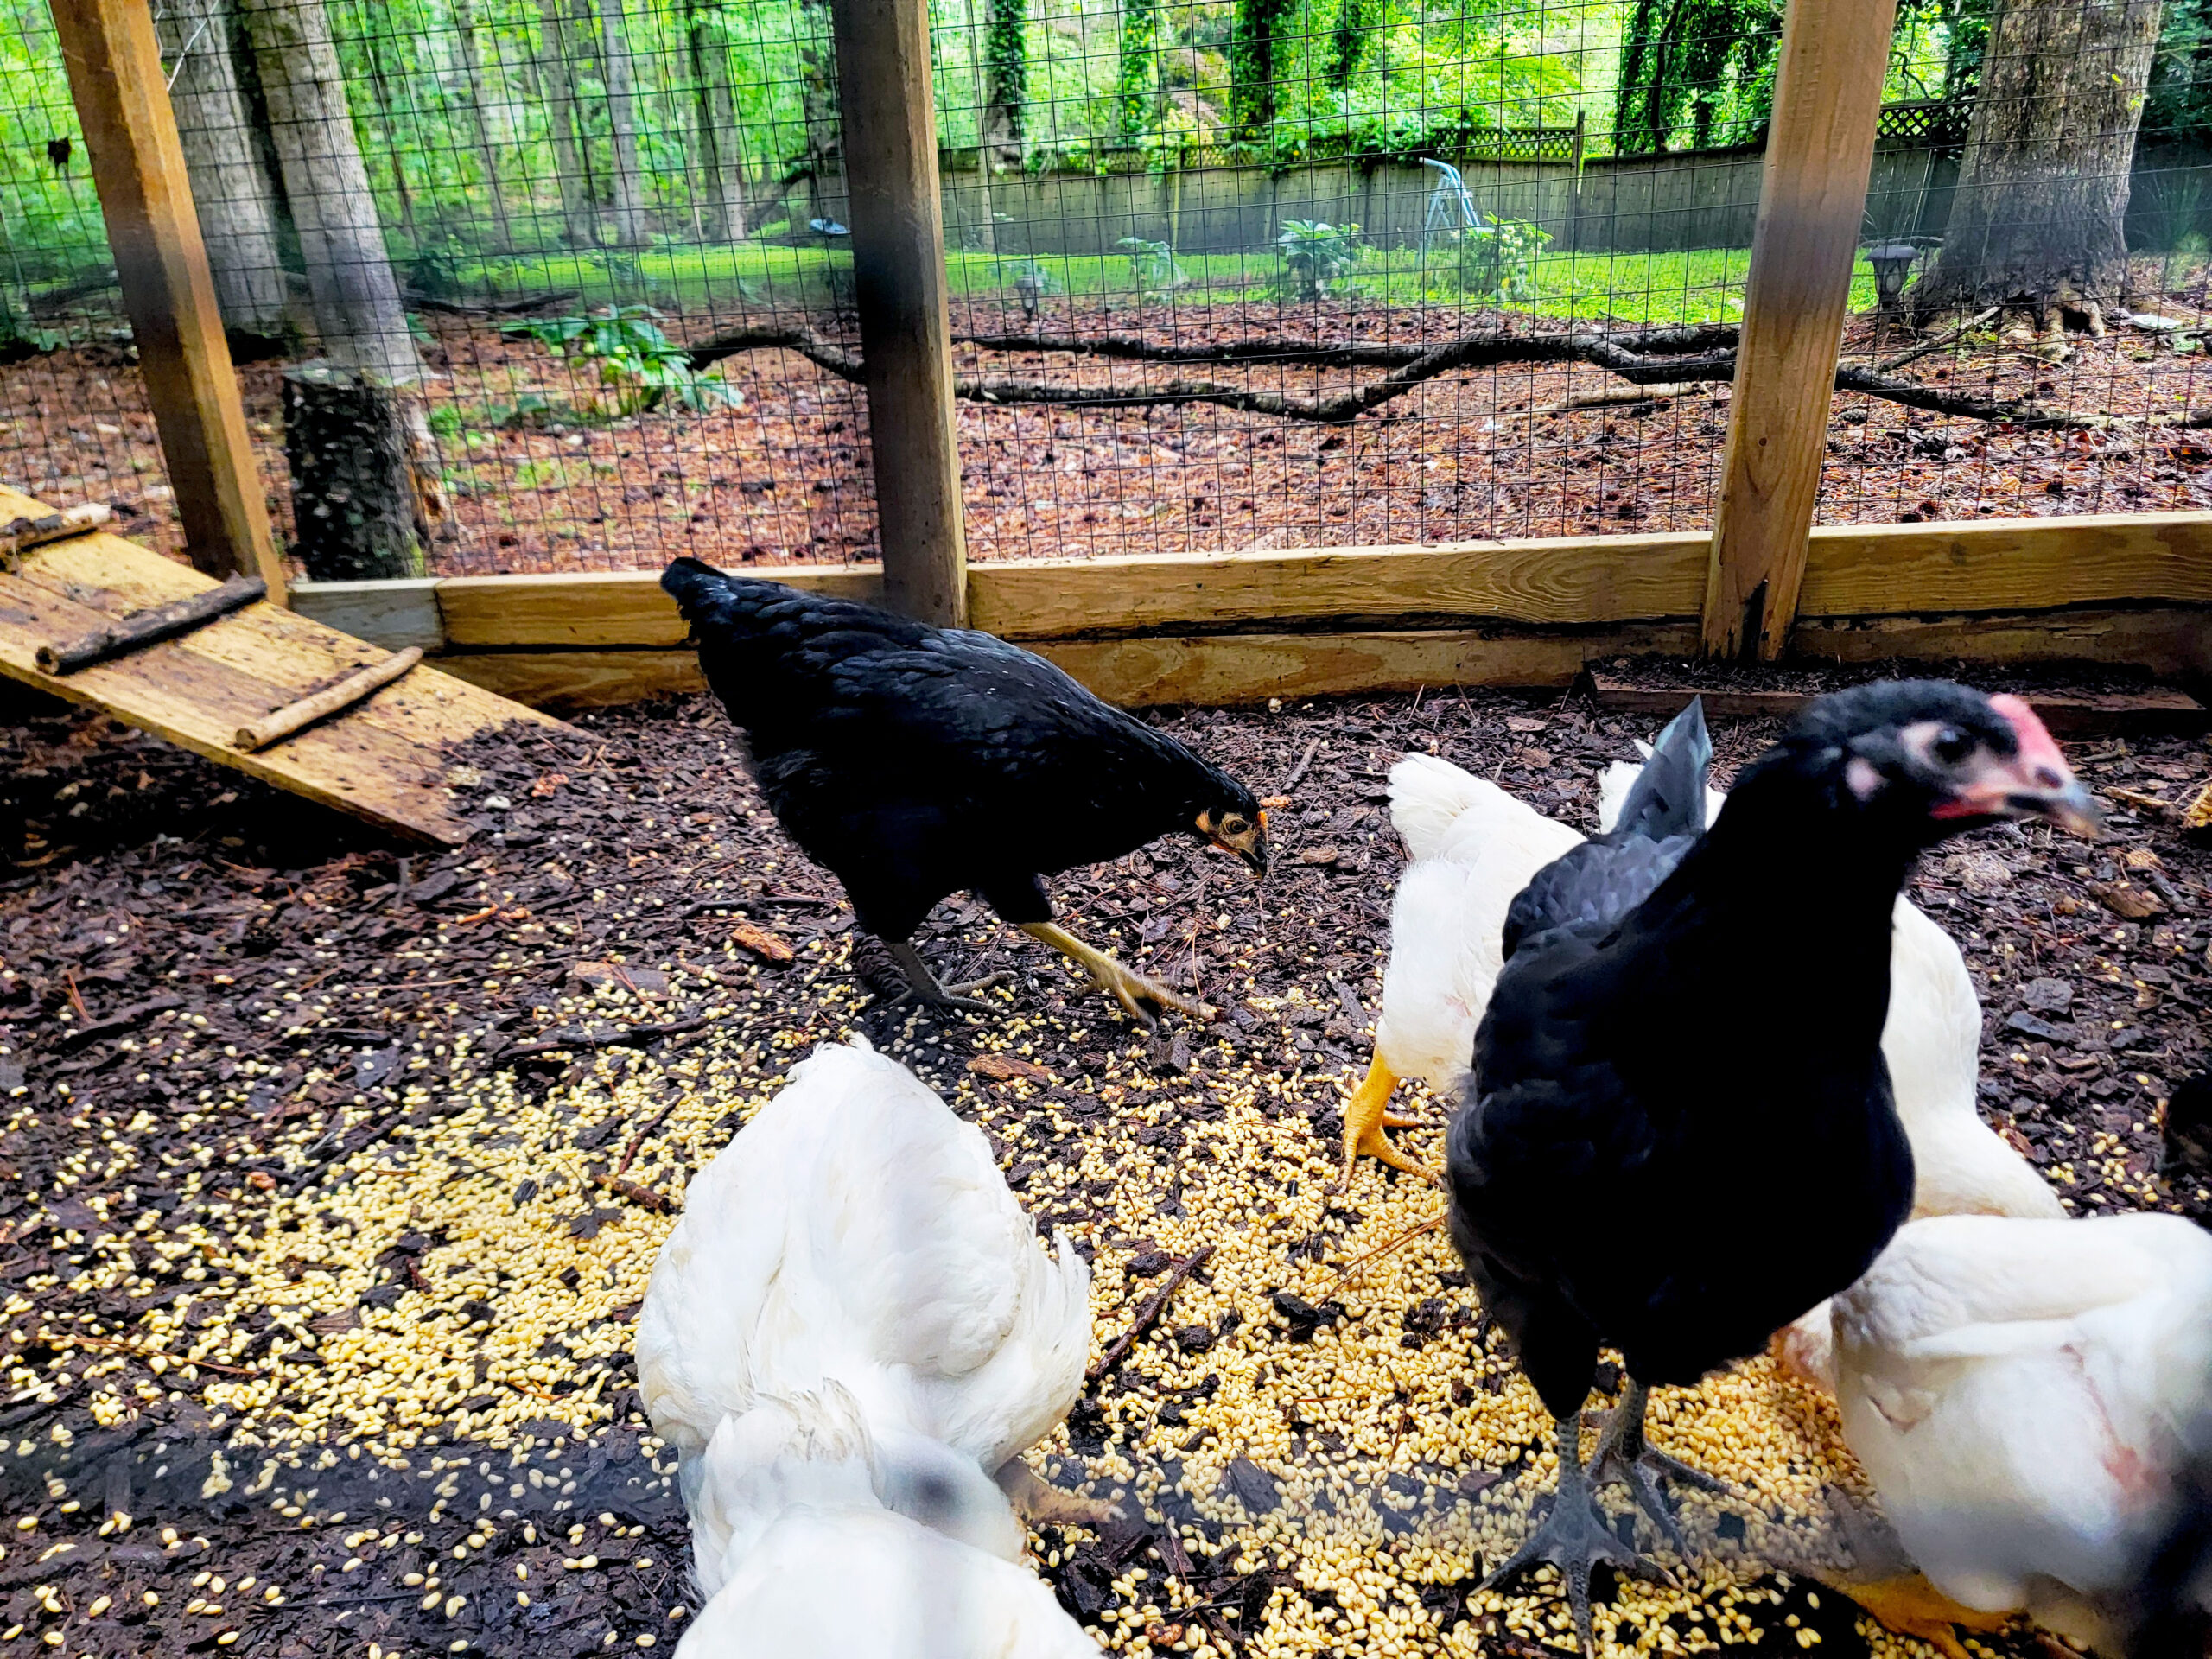
Raising chickens is incredibly rewarding—fresh eggs, natural pest control, endless entertainment for the little ones, and great way to get kids involved in helping out and taking on responsibilities around the house. All that sounds great BUT! keeping your flock fed and hydrated without daily fuss, not so much, especially if you don’t have a good and reliable system. We recently did an upgrade to our feeding systems for our hens and its been a game-changer. It the most economical and practical fit, especially if you travel frequently or plan to be on the road for more than a few days. In this post, I’ll walk you through how to make your own DIY chicken feeder and water dispenser using just a couple of 5-gallon buckets and some affordable feed and water connectors we purchased online at Amazon. It’s a budget-friendly, low-maintenance solution that’ll keep your hens happy and you stress-free.
Here Are The Supplies You’ll Need
Two or more (we have four hens so 2 was plenty for us ) 5-gallon buckets—one for feed, one for water—and some simple accessories (chicken feeder port kits) that we ordered online from Amazon. We researched various auto feeding methods and found the 5 gallon approach to be most simple and durable and sustainable.
To build the Feeder you will need:
- 1 x 5-gallon plastic bucket with a tight-sealing lid
- 3–6 chicken feeder ports (plastic elbow-style works great)
- Drill with a hole saw (usually 3″ hole saw for feeder ports)
- Marker and measuring tape
- Optional: Soda water (to refresh yourself) & silicone sealant (for weatherproofing)
To build the Water Dispenser you will need::
- 1 x 5-gallon plastic bucket with lid
- 3–6 poultry water cups or horizontal water cups
- Drill with 11/32″ or 3/8″ bit (would recommend you check water cups nipple size)
- Marker
- Optional: hanging handle or cinder blocks to elevate
Part 1: The DIY Chicken Feeder
Let’s start with the feeder. These feeder ports is simple and just works. It continuously replenishes it self as the hens feed and give them enough space to feed comfortably without crowding. The top canopy keep the feed dry, the lips at the end of the feeding cone let your hens peck away comfortably while ensuring that there’s no waste.
Step-by-Step Instructions:
1. Mark the holes
Place your bucket upright and use the measuring tape to mark 4 to 6 (I’ve found 4 to be good number for a 5 gallon bucket, but 6 may work too) evenly spaced spots around the lower part of the bucket (about 2–3 inches from the bottom). Make sure the spacing gives enough room for each chicken to feed comfortably without squabbling with each other, especially if you have some young chicks in the mix.
2. Drill the holes
Use the hole saw to cut out each marked spot. Drilling a pilot hole with a bit can be helpful to ensure that you hole saw cuts evenly and does not go all over the place. Kits came with a saw which was last seen with my 9 year old drilling hole is scrap wood. Lucikly I had purchase a hole saw kit previously which came in handy and gave me plenty of options. Mine also had a center bit when ensured that the saw does not wander and jump all over the place. Always wear safety glasses and gloves while drilling.
3. Insert the feeder ports
Push the feeder ports snugly into the holes. The feeder is designed to fit tightly, but if there’s any gap or you want to weatherproof it, apply a little silicone sealant around the edge before inserting. Mine seem to fit pretty snug and since I have them in a covered space, I did not see the need to use an sealant.
4. Fill it up
Add your chicken feed inside the bucket and snap the lid on tight. This will keep the feed dry and protected from rodents or rain. (if your’s is not in a covered area)
5. Set it up
Place your feeder on a few bricks or a wooden stand to keep it off the ground. It also makes it a bit more comfortable for the hens to reach and prevents moisture and mud and other debris from getting in.
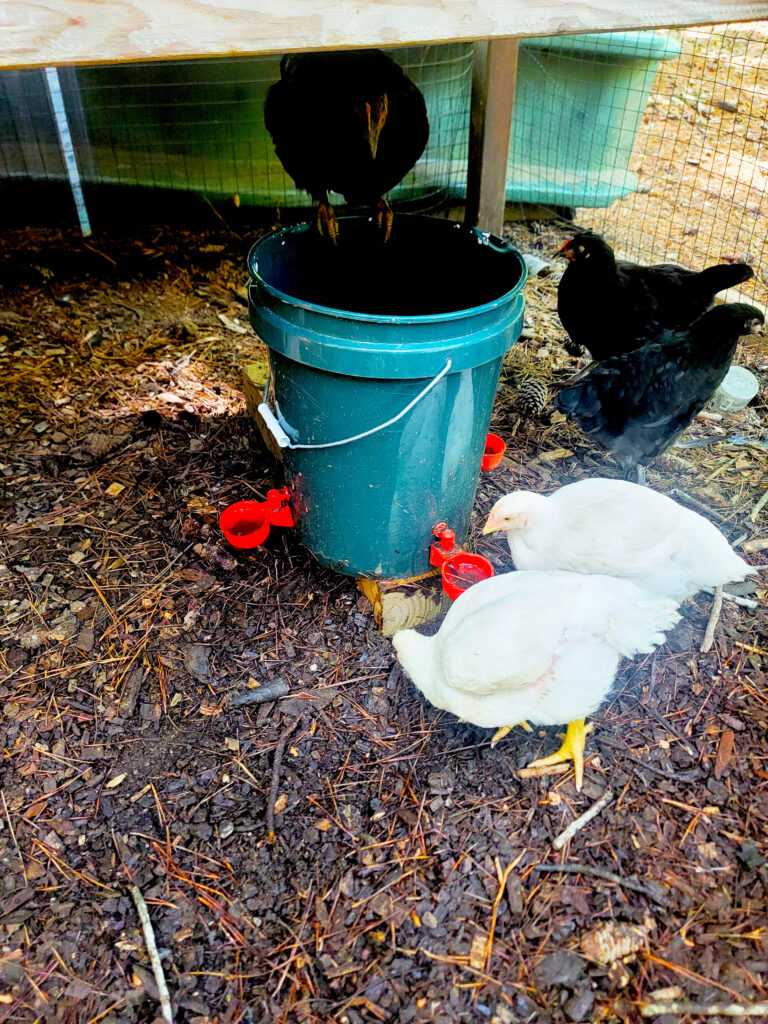
Part 2: The DIY Chicken Water Dispenser
Now let’s tackle the water dispenser. Watering cups help keep water clean, reduce spillage, and keep your run dry. The cups are spring loaded and opens and closes the water valve depending on the amount of water in the cup. Once the cups are in place, the water enter the cups, it gets pushed down and gradually closes the valve which stops the water from spilling once the cup is full. Clean and Simple solution. The water quality is just enough for a few rounds of drinks and keep getting refilled with fresh water. Less mess and happy chickens!
Step-by-Step Instructions:
1. Mark the spots
Turn the bucket on its side and mark evenly spaced points 3-4 inches from the bottom of the bucket. (Tip: Put the cups flat on the surface of the bucket to see where the nipple meets and cups ends. This will ensure that you cups does not hang below the bucket when full) . 4–6 cups are usually enough for a small to medium flock.
2. Drill holes
Use the appropriate drill bit for your nipple connectors. Most poultry nipples will specify the exact size needed (typically 11/32″ or 3/8″).
3. Screw in the nipples
Hand-tighten the watering cups into each hole. Make sure they’re straight and snug—there is also a small rubber washers at the end of the nipple to prevent leaks. No need to over tighten, a snug fit is sufficient for the job.
4. Fill with water
Flip the bucket back over, fill it with clean water, and securely snap the lid back on bucket. The lid is important as it creates a vacuum seal that helps regulate the flow of water to the cups as the water in the cups gets used.
5. Raise the bucket
Place it on a cinder or wooden block ( I had a small 6*6 left over lying around so I just used that) or hang it with a handle so that the water cups are about chest height to your chickens (generally 6–12 inches off the ground depending on your breed size).
Bonus Tips to ensure the systems works smoothly!
- Cleaning: Clean both systems every 1–2 weeks to prevent mold, algae, and bacteria buildup.
- Winter proofing: In freezing temperatures, use a heated base for the water dispenser or install a submersible bucket heater to prevent freezing.
- Materials: Make sure the buckets are food-grade plastic—especially important for the water dispenser.
- Training your flock: Chickens are pretty curious and will usually figure out how to use the cups quickly. You can also tap the cup and splash the water a few times to show them that these little red cups are their new refreshing drink cups.
My Final Thoughts
With just a couple of buckets, a drill set, and some clever connectors, you can create a low-maintenance feeding and watering system that keeps your backyard flock happy, healthy, and hydrated. Not only does it keeps us stress free when we are traveling It’s also a fun weekend project with the kids and take only a few minutes (order supplies beforehand, Amazon was just easy, I find that sometimes going to a hardware store can make even small projects take an entire day), saves money over time, and gives you more freedom from daily chores. Win-win!